Maintenance After an RV Detail Service
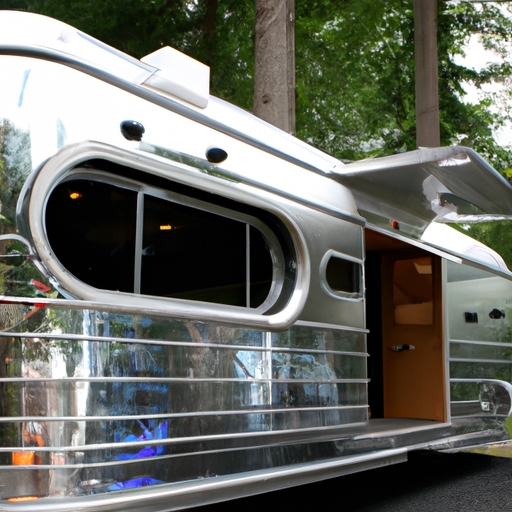
Getting stunning results from a professional RV detailing service can be hard, but with the right maintenance after (it's done), you'll be sure to have a great-looking RV for years to come! The key is regular upkeep and cleaning. First, it's important to clean off any dirt or debris that may have built up over time. Use a hose and soft brush to gently wash away any build-up, taking care not to use too much pressure as this could damage the exterior of your vehicle. Additionally, make sure to wax the RV every few months in order to protect its paint job and keep it looking its best. On top of that, regularly check all components such as brakes and tires for proper functioning. It's also recommended to apply a sealant in order to protect against water damage and other environmental factors.
Furthermore, an important step in ensuring optimal results from your professional detailing service is proper interior maintenance. This includes vacuuming carpets regularly, mopping floors on occasion, dusting surfaces frequently (especially windowsills!), and spot cleaning any spots or stains that may appear on fabrics or upholstery. Additionally, consider using air fresheners throughout the interior of your RV in order to maintain freshness between trips! Finally, don't forget about storage compartments - they should be wiped down periodically with mild detergent in order prevent mold growth or foul odors building up inside them.
All together these steps will help ensure lasting beauty for your recreational vehicle; plus, with less time spent maintaining it yourself you'll have more chance for fun adventures! So remember - regular maintenance after an RV detail service is essential for getting stunning results over the long term!
Conclusion
Getting stunning results from a professional RV detailing can be a daunting task, but with some hard work and dedication, you can get the job done! It's important to start off by performing an inspection of your RV. This will help you identify any areas that may need extra attention when cleaning or polishing. You should then gather all of the necessary supplies, such as sponges, towels, cleaners and polish. (Don't forget to wear gloves!)
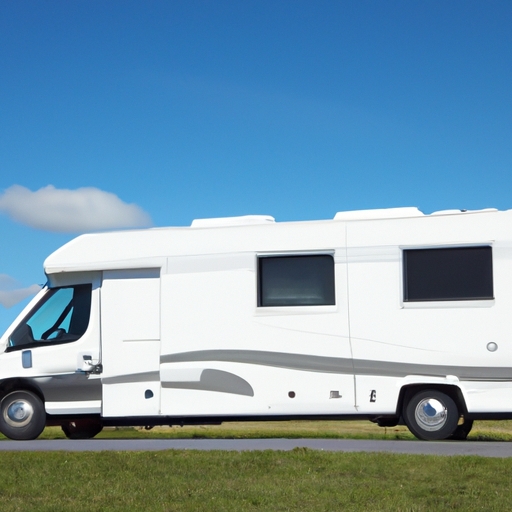
Next, begin to clean the outside of your RV by washing away dirt and grime using soapy water. Once this is completed, dry the vehicle with a towel or chamois cloth. Afterward, apply a coat of wax for added protection against oxidation and other elements. Finally, use a buffer to remove any scratches or imperfections in the paint job.
Now it's time to move inside! Vacuum upholstery and flooring first; then focus on scrubbing down surfaces like countertops and cabinets. Don't forget those hidden nooks and crannies! Make sure you are dusting off fan blades too - this will keep your air quality fresh! Additionally, don't neglect windows; they should be polished with glass cleaner for optimal clarity!.
Lastly but not leastly(!), pay special attention to detail when completing these steps as this will ensure that you get great results from your professional RV detailing job! Furthermore(!), if you follow through with each one of these steps carefully - you'll have an amazing RV ready hit the road with pride!!
In conclusion, getting stunning results from professional RV detailing requires patience and effort along every step of the way - but it definitely pays off in the end! With just a bit more care than usual during your routine maintenance procedures - your vehicle will look better than ever before!